Showing posts with label tutorial. Show all posts

Xiph.org - Excellent videos on digital multimedia

https://yalneb.blogspot.com/2019/03/xiphorg-digital-media-primer.html
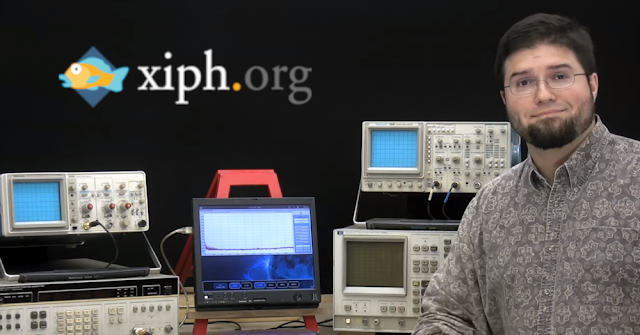
Sometimes you find absolutely outstanding videos on the internet. Such is the case of a brief video series by xiph.org on digital media. The host explains with very visual examples some concepts that are always misunderstood when comparing analog audio to digital, like that there is audible signal quality loss because of the conversion (not true). My favorite take-aways have been:
  • Why 22 bit audio has no real advantages over 16 bit (for playback).
  • A better understanding on the noise-level of digital audio and the effects of dither.

Really, if you consider yourself an audiophile of level 3 or beyond, you really should watch his videos to deepen your knowledge about the joys of high quality media playback.

How to create tasks on FreeRTOS

https://yalneb.blogspot.com/2017/05/how-to-create-tasks-on-freertos.html

FreeRTOS is a great tool for those of you who want to get the most out of their microcontrollers and do something more than blink a LED. It enables you to run several tasks concurrently (i.e. simultaneously, but no in parallel) and do things like, while one process is waiting for your I²C interface to finish (the task is blocked) let different process take advantage of the waiting time to do work.

In this post we will take a look at how to create two simple FreeRTOS tasks that run concurrently on Arduino, although this is perfectly applicable to any other microcontroller you have lying around.

Run FreeRTOS on Arduino UNO (ATMega328P)

http://yalneb.blogspot.com/2017/05/run-freertos-on-arduino.html

On one hand we have FreeRTOS, an awesome tiny operating system you can run on almost any microcontroller in order to run concurrent processes. It is also great to learn how more complex operating systems, say Linux, work under the hood. And on the other hand we have Arduino, a small, low-cost and user-friendly microcontroller development board.

So, why not combine both? Let's have a look at it.

How to program Arduino with Atmel Studio

http://yalneb.blogspot.com/2017/05/how-to-program-arduino-with-atmel-studio.html

Arduino is a fun entry point for those of you who want to program microcontrollers. It comes in two parts: the Arduino development board itself, and the Arduino IDE, a very easy to use notepad-like environment where you can write your code.The Arduino board itself is nothing more than a development board for an ATmega328P microcontroller with some nice extras, while the Arduino IDE takes care of making programming a microcontroller a kid's game.

However, the IDE can sometimes get in the way of a more advanced programmer, as it ads a lot of extra code we sometimes do not want (o prefer to do our self). The remedy is to program the ATmega328P with Ateml Studio 7, just as if it were a regular microcontroller. But for that, we first need to tell it how to "talk" to the Arduino to program it.

Electronics tutorial: equivalent parallel resistor

http://yalneb.blogspot.com/2015/08/electronics-tutorial-equivalent-parallel.html

Resistors, as their name suggests, offer resistance to the pass of current through them. They are also the most basic electronic passive component.

You can connect several resistors one after another in series, or connect them in parallel. In this post we will study the effect of the parallel configuration and calculate the current and voltage drop using Ohm's law.

Electronics tutorial: equivalent series resistor

http://yalneb.blogspot.com/2015/08/electronics-tutorial-equivalent-series.html

Resistors, as their name suggests, offer resistance to the pass of current through them. They are also the most basic electronic passive component.

You can connect several resistors one after another in series, or connect them in parallel. In this post we will study the effect of the series configuration and calculate the current and voltage drop using Ohm's law.

Electronics tutorial: an intuitive idea of what voltage is


http://yalneb.blogspot.com/2015/08/electronics-tutorial-voltage.html

This time I am going to talk about voltage, trying to give the most intuitive intuitive interpretation possible: potential difference.

Actually, voltage is the potential difference between two points in an electric field per unit of charge. Does this sound familiar? Here is a clue: cinematic potential energy is the potential difference between two points of a gravitational field per unit of mass.

Electronics tutorial: basics and Ohm's law

This is the first post about a series of mini basic-electronics tutorials I intend to write. Many of my friends, some engineers, some not, are starting to play around with Arduinos and other microcontrollers; and although they are doing quite well with the programming part, they still struggle to understand why you have to connect everything to ground, what a pull-up resistor is or how Pulse Width Modulation (PWM) works. But first we have to start with the basics.

In this post I am going to talk about voltage, current, resistors and Ohm's law.

PID control: explanation & tuning rule of thumb

Most robotic applications require Proportional-Integral-Derivative (PID) control at a low level to control several processes. Be it the speed of a rover according to the distance to its target, or the thrust of each propeller of a multirotor to hover in one place.

Regardless of how basic PID control is, it can be sometimes a bit tricky to understand and tune a PID controller.